No-Drill Wall Decor for Renters: Choose the Surface First
· SmallSpace AI Editorial
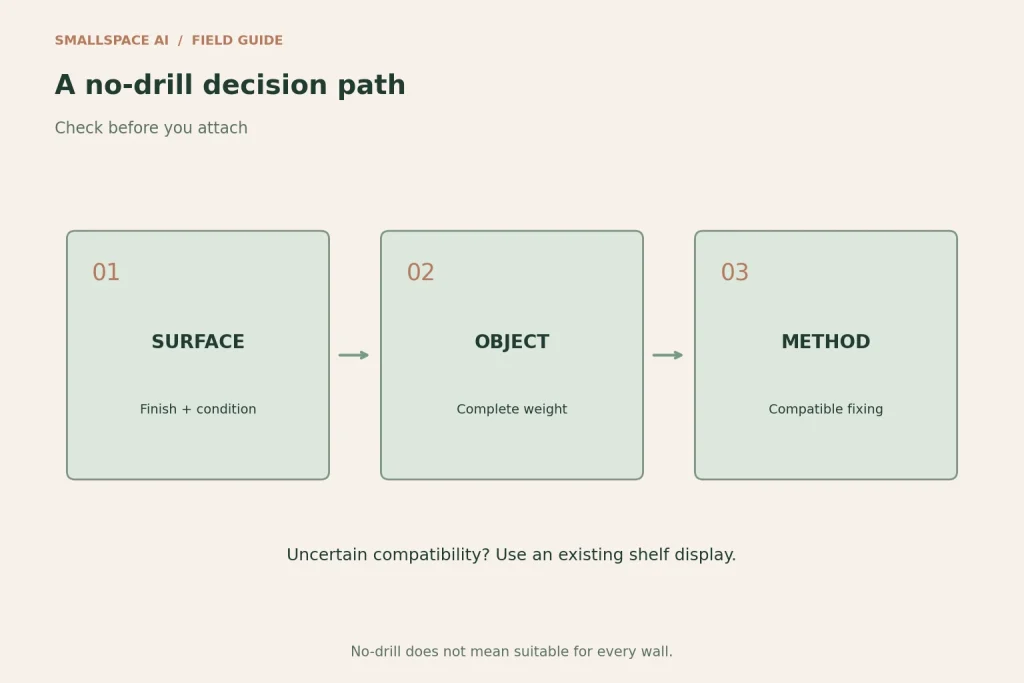
Illustration: an explanatory diagram, not a photograph or a construction drawing.
No-drill decorating begins with the wall finish and the weight of the object, not the shape of the hook. A removable fixing can still damage an unsuitable surface. If the finish is uncertain or your tenancy does not allow attachment, choose a display on existing furniture instead.
Identify what you are decorating
Check whether the surface is painted plaster, wallpaper, tile, glass or another material. Note loose paint, texture, dampness and recent decorating. Do not assume instructions for a smooth painted wall also apply to wallpaper or a textured finish.
Read your tenancy conditions and ask for permission when required. A small hidden test is not proof that a larger installation will remain safe or remove cleanly later. The product instructions and the condition of the surface both matter.
Weigh the complete object
Include the frame, glazing, backing and anything attached to it. Match the item to the exact fixing system rather than adding the ratings of unrelated hooks. A mirror or heavy framed artwork needs its own suitable support; do not improvise an adhesive mounting because drilling is inconvenient.
Avoid placing fragile or valuable objects where a fall could harm someone. A lighter print in an appropriate frame may achieve the intended effect with fewer complications than a large glazed frame.
Compare three display methods
A shelf or console display uses furniture you already own, but objects must remain stable and away from edges, children and pets. An existing picture rail may offer a useful hanging position when its condition and compatible hardware are established. Adhesive systems are an option only when their instructions match the object and surface.
Do not lean a large mirror or tall object against a wall as an assumed safe substitute for anchoring. Follow the item’s stability requirements. When none of the methods suits the rental, a tabletop print or textile change can provide colour without attaching anything to the wall.
Follow the actual application and removal sequence
For one example, Command’s instructions for its hooks specify waiting after painting, exclude wallpaper and explain downward stretching of the removal strip. Different product families have different instructions. Use the directions supplied with your selected product rather than transferring these steps to every adhesive.
Keep removal tabs accessible. Do not cover them with a tight frame arrangement that makes the correct removal movement impossible. Photograph the placement and keep the product instructions so you are not guessing at move-out time.
Arrange the composition before installing
Lay the pieces on the floor or an existing table. Compare the complete arrangement with the wall and the furniture below it. You can use paper cut-outs held in place by hand to judge scale without attaching them to the wall.
One clear grouping often works better than scattering small objects across several walls. Choose spacing that looks deliberate, but do not let symmetry override the available fixing positions or the product’s requirements. Leave switches, vents and useful wall controls accessible.
Plan the move-out step now
Keep spare instructions and a record of which fixing supports each item. Remove items using the manufacturer’s method rather than pulling them away from the wall. If removal does not behave as expected, stop and seek product-specific advice before damaging the finish further.
For a room refresh that relies more on layout and textiles, see our bedroom spending-cap plan. If the aim is a more coherent living area, our living-room refresh guide starts with changes that require no new wall fixing.
Leave a Reply